
How Blood and Bodily Fluid Are Safely Removed
How professionals safely remove blood and bodily fluid: containment, enzymatic cleaners, EPA-registered disinfectants, strike-through detection, and disposal.
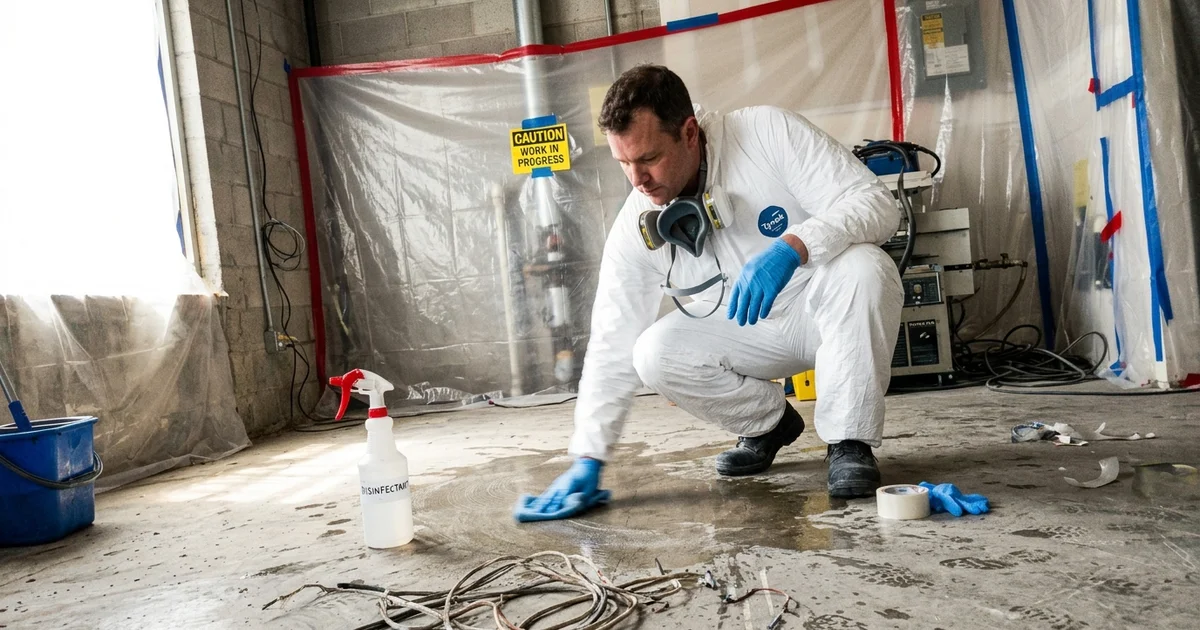
Why This Is a Technical Process, Not a Cleaning One
Blood is a biological material that neutralizes most household disinfectants on contact and penetrates porous surfaces rapidly. This means standard scrubbing methods will only spread the contamination deeper into your home.
You know how regular bleach seems like the quick answer to every heavy-duty spill. From what I have seen in the field, the organic load in bodily fluids actually deactivates bleach before it can act on dangerous pathogens.
A standard household vacuum will simply aerosolize the particles right into the air you breathe.
Our crime scene cleanup crews operate under strict federal guidelines because every intuitive cleaning approach fails in a very specific way. Wiping a spill simply smears it across a wider area.
We strictly follow the OSHA Bloodborne Pathogen Standard, located in federal regulation 29 CFR 1910.1030, to protect everyone involved. This rigorous code exists because each exact step makes the subsequent action possible. If you are wondering how blood is cleaned from a crime scene, let us look at the exact sequence of this highly regulated work and explore how each step protects your family.
Step 1: Containment Before Contact
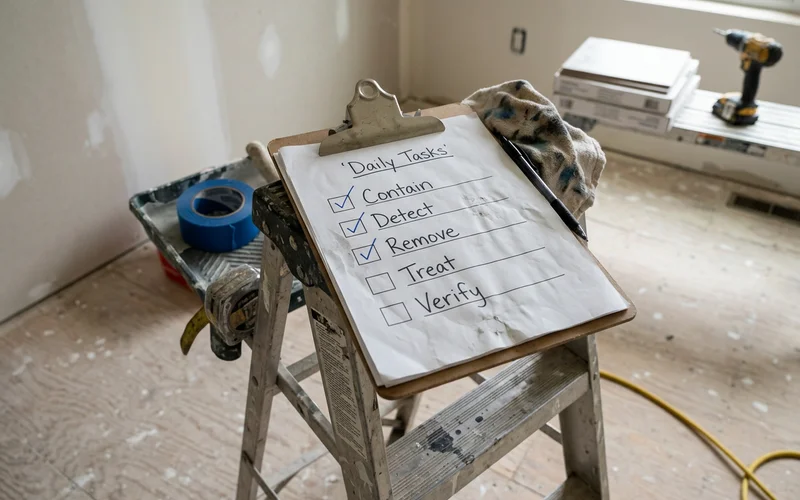
Containment is the act of sealing a contaminated zone off from the rest of the property before any physical removal begins. This prevents airborne pathogens from spreading into clean rooms, which is especially critical in homes with significant accumulations of belongings.
Our crews establish biological containment zones to isolate the affected area completely. Negative air machines run constantly inside the space. These devices pull the air through HEPA filtration systems that capture 99.97 percent of particles as small as 0.3 microns. The exhaust vents outside, ensuring that all airflow moves safely inward.
We always enter these environments wearing disposable protective clothing and full-face respiratory gear. Technicians remove these items inside the zone using a strictly defined doffing procedure. This protocol is mandatory because the most common contamination pathway in this line of work is a technician accidentally carrying biological material out on their own boots or equipment.
To prevent cross-contamination during the blood cleanup process, a proper containment strategy includes the following measures:
- Sealing all HVAC vents in the affected room with thick plastic sheeting.
- Establishing a physical airlock system at the entry point.
- Running high-efficiency scrubbers to achieve the required air changes per hour.
- Designating a specific staging area for clean tools outside the hot zone.
Step 2: Strike-Through Detection
Strike-through detection measures the exact distance that biological fluids have traveled beneath visible surfaces. This step dictates the true scope of the entire project.
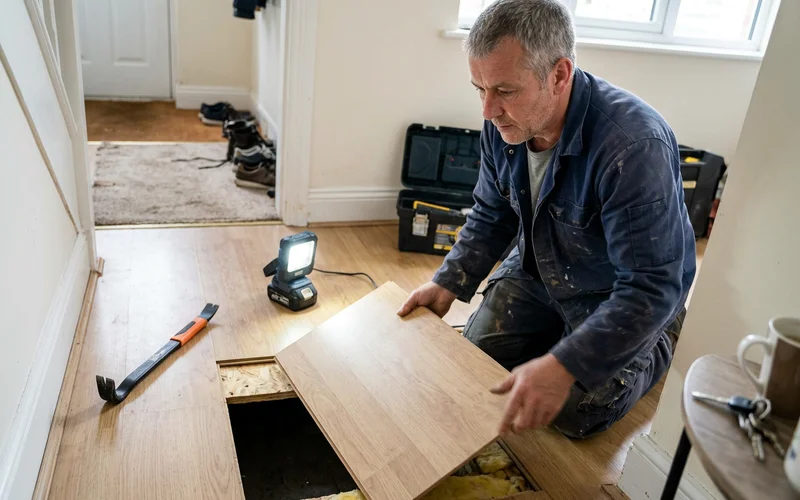
Our specialists understand that hemoglobin breakdown leaves a hazardous residue well beyond the visible area. Fluids travel quickly using gravity and capillary action, especially along the porous edges of layered belongings. Before a single drop of cleaner is applied, we must determine exactly how far the biological load went. That investigative process means checking flooring seams, lifting sections of carpet, and looking behind heavy baseboards.
We often open sections of the subfloor in more advanced cases to track the complete path of the fluids. This investigative step is where the true scale of the work becomes clear. A scene that looks like one square meter of blood on a linoleum floor can easily involve four square meters of saturated plywood subfloor hidden beneath it.
“A common mistake untrained individuals make is cleaning the top layer of a floor and ignoring the subfloor. Capillary action pulls biological fluids deep into wood fibers, where they will eventually rot and release severe odors if left undiscovered.”
Step 3: Removal of Absorbed Material
Any porous item that absorbed bodily fluids must be physically removed and discarded. This bodily fluid removal step is critical because you cannot safely disinfect saturated materials like carpet padding or drywall while they remain in place.
Our team takes out anything porous that took up fluid. This includes ruined carpets, upholstery, mattresses, and drywall where the saturation reached it. The subfloor itself must be cut out wherever a physical strike-through occurred.
We know that throwing away household items is extremely difficult, particularly for families already feeling overwhelmed by a heavily packed home. A biofilm forms rapidly inside porous materials, creating a microscopic shield that prevents chemical disinfectants from reaching the dangerous bacteria underneath. Removal is never just a preference. It is the only scientific method that actually works.
To illustrate why removal is mandatory, compare how fluids interact with different household surfaces:
| Material Type | Fluid Interaction | Required Action |
|---|---|---|
| Non-Porous (Glass, Metal) | Fluids remain entirely on the surface. | Clean and apply EPA-registered disinfectants. |
| Semi-Porous (Sealed Wood) | Fluids penetrate slowly over several hours. | Assess carefully for strike-through, treat if caught early. |
| Porous (Carpet, Drywall, Plywood) | Fluids absorb instantly via capillary action. | Mandatory removal and regulated disposal. |
Step 4: Enzymatic Cleansers, Then Disinfection
Enzymatic cleansers are applied first to destroy the complex proteins, followed by strong disinfectants to kill any remaining viruses. Doing this in reverse order causes the entire sterilization process to fail.
Our technicians apply specialized enzymes to break down the organic residue that would otherwise consume and neutralize the active ingredients in the disinfectant. Then, hospital-grade disinfectants are applied to the treated areas. The Environmental Protection Agency maintains a specific registry called List S, updated in 2024 to consolidate earlier data, which identifies products proven effective against bloodborne pathogens like HIV and Hepatitis C.
We ensure that these powerful chemicals are left visibly wet for the full contact time listed on the product label. This dwell time typically takes two to ten minutes, rather than an immediate wipe with a rag. Skipping this waiting period is the most common mistake in non-professional cleaning. Allowing the product to sit is the critical difference between genuinely disinfecting a surface and merely moving hazardous material around on it.
Every hard surface inside the containment zone receives this dual-treatment approach, including:
- Solid wood trim and intact baseboards.
- Metal light fixtures and doorknobs.
- Non-porous flooring like ceramic tile or linoleum.
- Any surrounding walls exposed to the original incident.
Step 5: Regulated Disposal
All biological waste is packaged into specially rated red bags and transferred to a medical waste facility with a legal chain of custody. You cannot legally throw contaminated materials into a standard household dumpster or municipal trash bin.
Our crews log every piece of contaminated material and secure it into rigid, leak-resistant containers before it ever leaves the property. These packages travel with a manifest tracking document to a contracted disposal facility. The US Department of Transportation strictly regulates this process under the UN3291 standard for regulated medical waste.
We provide the property owner with a fully documented record proving the material was handled correctly according to DOT 49 CFR regulations. As of 2026, fines for improper handling of biohazardous waste can easily exceed $16,000 per violation, making professional compliance absolutely essential. This chain of custody matters deeply from both a legal and a practical standpoint.
“A documented history of proper biohazard disposal protects your financial investment. Buyers and insurance adjusters frequently demand this proof of legal remediation before finalizing any property transactions.”
Step 6: Verification
Verification is the final stage where specialized scientific testing proves the area is biologically sterile. A clear visual inspection is never enough to guarantee that your home is safe to inhabit.
Our post-remediation verification process includes ATP testing, which measures the molecular energy found in all living cells, to detect any residual organic material on treated surfaces. The testing device produces a precise numeric result measured in Relative Light Units. A passing grade on a standard commercial luminometer typically requires a reading of under 10 Relative Light Units.
We immediately retreat and retest any specific surface area that fails to meet this strict numeric standard. You receive the final clearance documentation for your permanent records. A simple visual walkthrough by a tired homeowner would not have revealed the microscopic threats still lurking on a seemingly clean floor.
To understand the difference between standard cleaning and true verification, consider these metrics:
| Assessment Method | What It Detects | Reliability Level |
|---|---|---|
| Visual Inspection | Large visible stains, surface debris. | Extremely Low. Misses microscopic pathogens. |
| Odor Detection | Advanced bacterial decay, rot. | Low. Odors only appear after biofilm establishes. |
| ATP Swab Testing | Cellular energy (ATP) measured in RLU. | High. Provides an objective, numeric pass/fail score. |
What This Looks Like From Your Side
From your perspective, the process involves a free initial assessment, a written scope of work, and absolute discretion from the team. We handle the heavy technical burdens so you can focus entirely on supporting your family through a difficult time.
The goal is to make the logistics straightforward and manageable for you. If you want the personal experience rather than just the technical sequence, what to expect during the cleanup covers the emergency response, the discretion protocols, the typical timeline, and the communication style.
Our crews often complete standard residential remediation projects within 24 to 48 hours, depending heavily on the volume of belongings present in the home. The initial assessment is completely free of charge. The formal scope of work comes to you in writing, and nothing starts before you have the exact price.
This transparent approach ensures you maintain full control over the decisions being made about your property. Reach out to our team today to schedule your free, confidential assessment.
Frequently Asked Questions
How is blood safely removed?
What is strike-through?
Why are enzymatic cleaners used before disinfectant?
Can hardwood floors be saved?
Related Guides
What Crime Scene Cleanup Includes
What crime scene cleanup includes: blood and fluid removal, disinfection, odor treatment, disposal, and where evidence and authority boundaries lie.
What to Expect During Crime Scene Cleanup
What to expect during crime scene cleanup: response and discretion, assessment, timeline, insurance coordination, and compassionate communication.
Learn more about Crime Scene Cleanup
If this guide described your situation, our crime scene service page walks through the full process, pricing, and what happens after you call.