
What to Expect During Animal Waste Remediation
What to expect during animal waste remediation: assessment, containment, removal and sanitizing, odor elimination, timeline, and restoration.
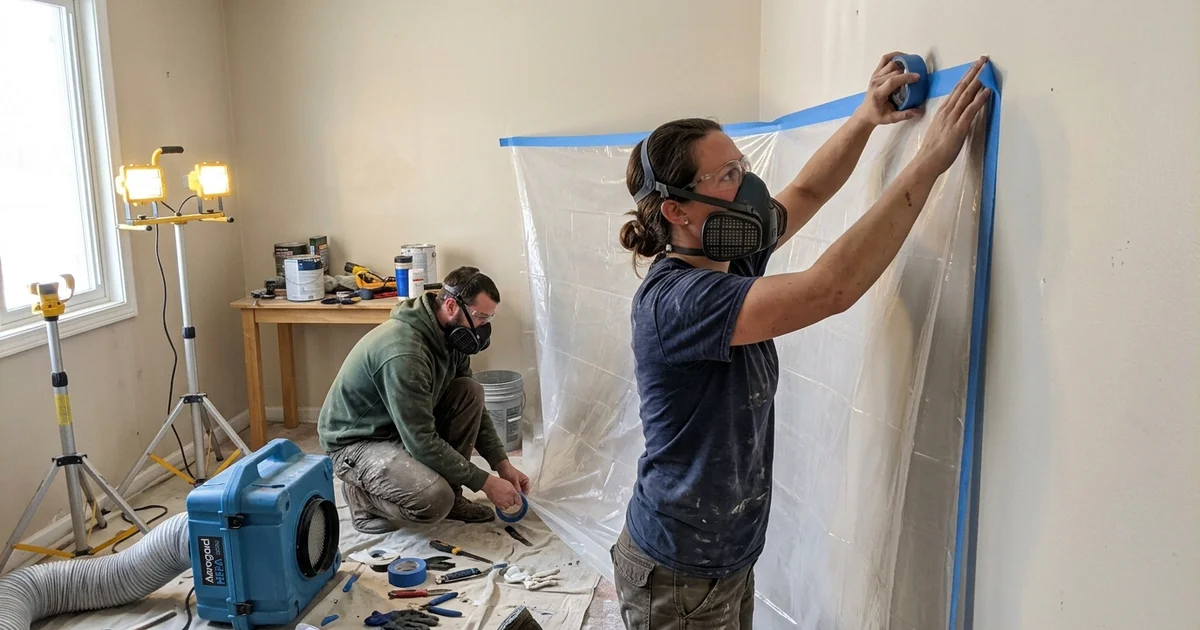
Understanding what to expect animal waste cleanup to look like is the first step toward reclaiming your space.
As a professional service team, we know how overwhelming a property with severe accumulation can feel. The physical and emotional hurdles are immense, especially for families managing these challenges.
Our approach focuses on clear, step-by-step progress without judgment. Let’s look at the data, what the process actually involves, and then explore a few practical ways to respond.
Before Anyone Touches Anything
The single most common mistake on these jobs, made by homeowners and by general cleaning companies alike, is starting work before controlling the air. Disturbing dry material immediately releases dangerous particles into your breathing zone.
Our animal waste cleanup crews assess and contain the area first, and only then begin removing material. The Centers for Disease Control (CDC) strictly warns against using standard vacuums or brooms on rodent droppings. These actions aerosolize biohazards like hantavirus, placing anyone nearby at risk.
We always prioritize your respiratory safety before shifting a single box.
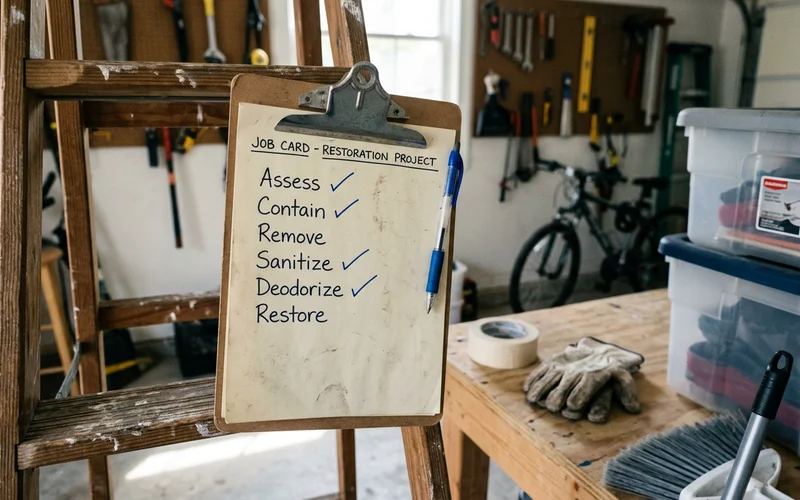
Phase 1: Assessment
A technician walks the full property, not just the room you called about. Attics, crawlspaces, basements, garages, and outbuildings all get checked, because that is where contamination usually turns out to be worse than expected.
We also determine how far urine has penetrated into the building materials. Surface staining on flooring tells you very little about whether the subfloor beneath is saturated, and that distinction drives a large part of the cost. Recent 2026 data shows that severe biohazard and hoarding cleanups in the US can range from $3,000 to over $20,000 depending on structural damage.
Our specialists use moisture meters to find hidden saturation points. You receive a written scope and price before anything begins.
Here is what your written estimate will include:
- Materials slated for removal
- Specific containment requirements
- Insulation extraction details
- Expected days to complete the project
- Full restoration scope
Phase 2: HEPA Containment
Containment barriers seal the work zone to protect the rest of your home. High-efficiency particulate air (HEPA) negative-air machines create negative pressure so air flows inward and everything exhausted passes through filtration.
We follow strict OSHA respiratory protection standards for all onsite staff. A true HEPA filter captures at least 99.97 percent of airborne particles sized at 0.3 microns. This specific micron size is the hardest to trap, making it the gold standard for US environmental safety in 2026.
Our crews work in rated respiratory protection and disposable protective clothing. Moisture-based methods are used throughout the space rather than dry sweeping, so material is not sent airborne, which matters most when cleaning rodent droppings where hantavirus is a risk.
| Cleanup Method | Airborne Risk Level | Safety Recommendation |
|---|---|---|
| Dry Sweeping | Very High | Strictly Avoided |
| Standard Household Vacuum | High | Strictly Avoided |
| Wet Wiping with EPA Disinfectant | Low | Recommended Standard |
| Commercial HEPA Extraction | Very Low | Professional Standard |
Phase 3: Removal
Contaminated waste is removed into sealed bags rather than open loads to prevent cross-contamination. Contaminated porous materials follow next, including:
- Carpet and padding
- Upholstered furniture
- Drywall sections
- Attic and crawlspace insulation
We use heavy-duty bags, typically exceeding the standard 3-mil thickness, to ensure nothing leaks or tears during transport. The US Environmental Protection Agency (EPA) requires specific handling for biohazardous materials. Insulation cannot be salvaged once contaminated. It absorbs urine and traps droppings and nesting material, and no treatment reaches through it.
Our technicians carefully bag this insulation inside the affected space before carrying it through your home. This strict protocol prevents trailing contaminated debris across clean floors.
Phase 4: Sanitizing and Enzyme Treatment
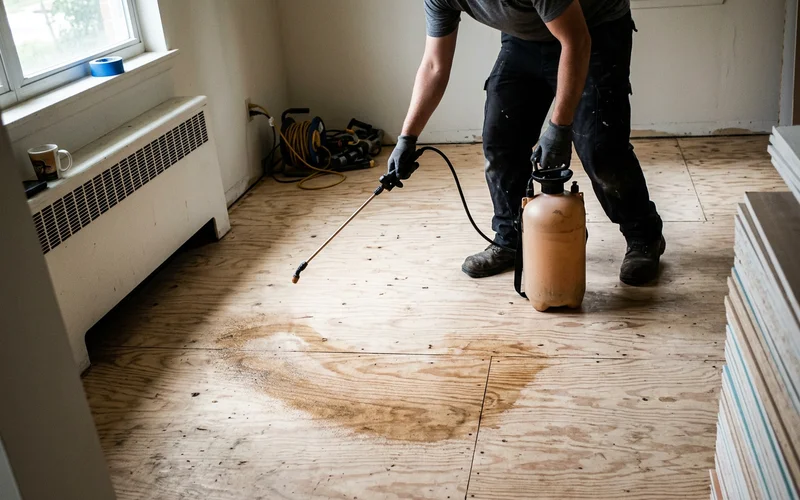
Exposed surfaces are cleaned and then treated with EPA-registered disinfectants at full contact time. Where urine has soaked into subfloor, subfloor enzyme digesters are applied.
We never rush this crucial step. The contact time, or dwell time, is the number of minutes a surface must remain visibly wet to effectively neutralize pathogens. Many US hospital-grade disinfectants require a full 10-minute wet contact time to work properly.
Our technicians monitor this closely to guarantee complete sanitation. These enzyme formulas break the chemical compounds down rather than just sitting on top of them.
Pro-Tip: Wiping away a disinfectant immediately after spraying is a common homeowner mistake. The surface must stay completely wet for the entire contact time listed on the label to kill harmful bacteria.
Where saturation is too deep for treatment to be reliable, the subfloor is removed and replaced. Ammonia is neutralized rather than simply ventilated.
Phase 5: Odour Elimination
With the source removed, air treatment finishes the job. Here is a quick look at the options:
- Hydroxyl Generators: Safe for occupied homes, great for mild to moderate odours.
- Ozone Treatment: Highly effective for severe odours, requires complete evacuation.
- Thermal Fogging: Replicates how the odour traveled, excellent for deep penetration.
We choose the exact technology based on your family’s living situation. Ozone treatments are highly effective but toxic to breathe, requiring complete evacuation of the premises. Hydroxyl generators, on the other hand, are completely safe for use around humans and pets.
Our team will close the space, leave it, and return to reassess the air quality. Odour that was genuinely eliminated stays gone. Odour that was masked comes back as soon as the space warms up, so we check rather than assume.
Phase 6: Restoration
New insulation goes in where it was extracted to restore the home’s energy efficiency. Flooring, subfloor, and drywall are replaced where they were removed.
Common restoration materials include:
- Fresh drywall and paint
- New carpet or hard flooring
- Replacement structural subflooring
- Upgraded blown-in insulation
We also flag entry points so a rodent problem does not simply return with the next cold snap, even though sealing them is usually a separate trade. The feces cleanup steps require proper exclusion techniques. Rodents can easily chew through standard expanding foam, making it useless for long-term prevention.
Our partners use materials like galvanized steel hardware cloth to ensure lasting protection. Protecting the restored space ensures your investment lasts.
Timeline and Living Arrangements
Most residential projects run one to three days, extending where attic or crawlspace insulation extraction is involved. Severe hoarding situations, particularly Levels 4 and 5, may require one to two weeks of careful, phased cleaning.
We structure the workflow to minimize disruption to your daily life. Odour treatment can add overnight cycles to the schedule.
Several factors influence your specific timeline:
- The total square footage of the affected area
- The volume of accumulated materials
- The depth of subfloor penetration
- The need for overnight ozone treatments
You can generally stay in the property during most of these phases. Containment keeps the work zone isolated and safe.
Our team plans any required evacuation, such as during ozone treatment, entirely around your schedule.
Getting Started
Photographs plus a description are usually enough for a free confidential estimate, and an on-site assessment gives a firmer one. Neither costs anything and neither obligates you to book.
We review these images to provide a baseline cost range for the US market. Many clients prefer to start with digital photos because it provides immediate privacy and lowers anxiety. Taking that first step is often the hardest part, but professional help makes a lasting difference.
Moving Forward with Confidence
Knowing what to expect animal waste cleanup to entail gives you back control. The process is methodical, focused on safety, and designed to permanently solve the problem.
We are ready to answer any questions you have about your specific situation. Reach out today to discuss your needs and take the first step toward a clean, safe environment.
Frequently Asked Questions
How does animal waste remediation work?
How long does it take?
Can we stay in the house during the work?
Will the smell definitely go?
Related Guides
Cleaning Rodent Droppings and Hantavirus Risk
Why rodent droppings and hantavirus are dangerous: aerosolized dried feces, attic and crawlspace remediation, HEPA negative-air containment, and insulation removal.
Health Risks of Animal Feces, Urine, and Hoarding
The health risks of animal feces, urine, and animal hoarding: zoonotic pathogens, histoplasmosis, toxoplasmosis, ammonia exposure, and why DIY is unsafe.
Learn more about Animal Waste Cleanup
If this guide described your situation, our animal waste service page walks through the full process, pricing, and what happens after you call.