
The Biohazard Remediation Process Step by Step
See the full biohazard remediation process: assessment, containment, removal, EPA-registered disinfection, ATP verification, and clearance documentation.
Why the Biohazard Remediation Process Order Matters
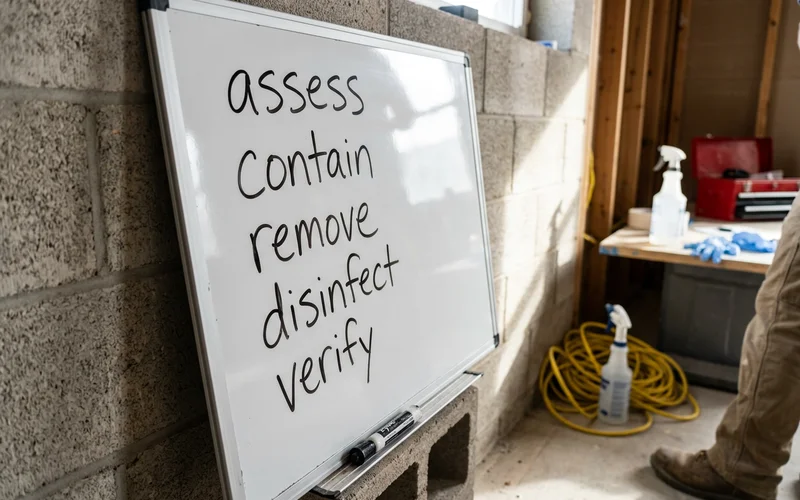
You know how tempting it is to just grab bleach and start scrubbing when you see a mess. Our biohazard and trauma cleanup crews see this natural instinct every day, especially from overwhelmed families facing severe hoarding situations. Skipping straight to surface wiping guarantees a failed biohazard remediation process and leaves dangerous pathogens behind.
We follow a strict sequence because biohazard cleaning is actually closer to a controlled demolition than a standard deep clean. The workflow must adhere to the OSHA Bloodborne Pathogens Standard (29 CFR 1910.1030). Our team takes this seriously because ignoring these federal regulations can result in fines up to $25,000 per violation.
Let’s break down the exact protocol and explain why the order is absolutely critical for a safe home.
Step 1: Assessment and Scoping
Nothing gets touched until the contamination is mapped. We identify the full affected area, which is almost always larger than the visible one. Fluids travel with gravity and capillary action, pulling biological material into flooring seams, baseboards, and under furniture.
Our technicians check below carpet padding for strike-through into the subfloor, and on more severe scenes, wall cavities and HVAC returns. A recent 2025 meta-analysis indicates hoarding disorder affects about 2.5% of US adults, often peaking in severity among those over 60. We use the Clutter-Hoarding Scale to classify these environments from Level 1 to Level 5.
Properties reaching Level 3 or higher typically present severe fire risks and structural hazards hidden beneath the debris. Our written scope provides a clear roadmap before any biohazard cleanup steps begin. The assessment document details several key factors:
- Materials requiring removal
- Required containment zones
- Expected disposal volume
- Estimated days to completion
Step 2: Containment and Air Control
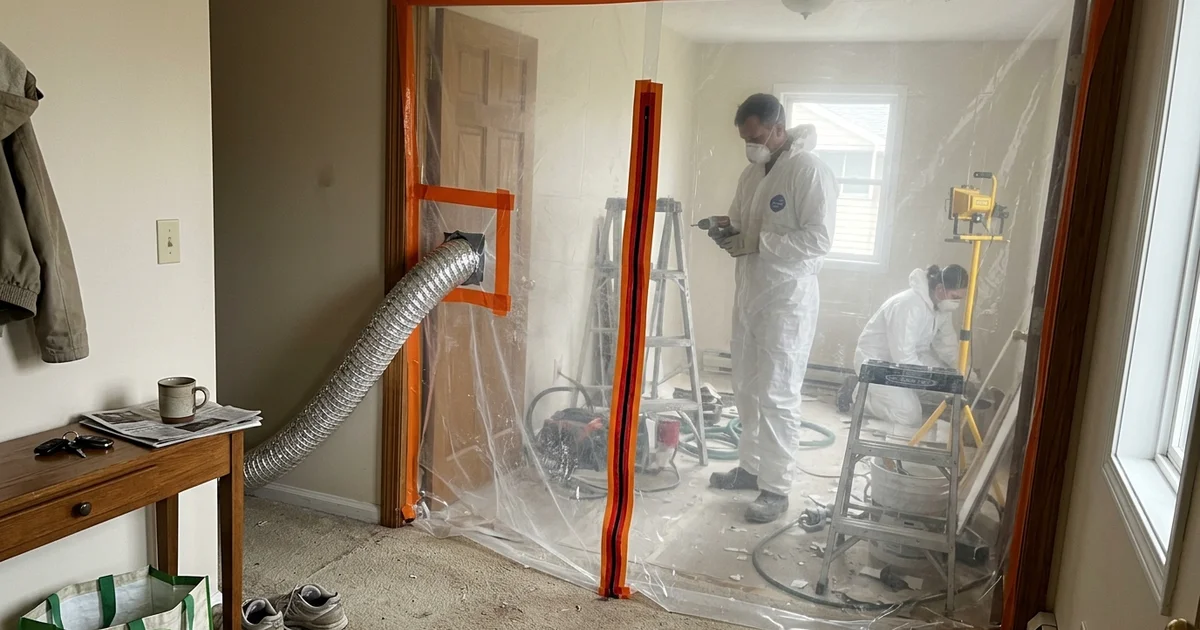
Cross-contamination barriers seal the work zone from the rest of the property. Our crews establish these zones to prevent hazardous particles from migrating into occupied parts of the house. On a bedroom scene, that might be a single zippered entry at the doorway, while larger projects involve protected transit corridors.
We run negative air machines inside the containment area to pull air through HEPA filters and exhaust it outside. These specialized filters capture 99.97% of airborne particles 0.3 microns or larger.
Our entry protocols require technicians to wear Tyvek suits and full-face elastomeric respirators. Protective equipment is strictly removed inside the zone using a defined doffing procedure rather than carried out through the kitchen.
Our process aligns with the latest 2026 industrial hygiene standards to protect your family.
Containment failure is the most common reason DIY cleanups spread contamination to otherwise clean rooms.
Step 3: Removal of Contaminated Materials
Porous materials that absorbed fluid cannot be decontaminated in place. Our teams remove carpet, padding, upholstery, saturated drywall, and affected subfloor entirely.
This is the step people resist because it looks destructive, but it determines whether the odor returns in three weeks. We cannot simply spray a chemical on top of saturated plywood and expect the liquid underneath to disappear.
Federal regulations set the baseline for how these specific items are handled once removed. Our technicians place everything qualifying as regulated medical waste into standardized red-bag containment.
These DOT-approved biohazard bags must adhere to strict weight limits, typically maxing out at 22 pounds per bag. We utilize a legal manifest system to track this waste from your property to a contracted medical waste incinerator.
Cradle-to-grave tracking ensures compliance with EPA guidelines and prevents illegal disposal.
| Material Type | Examples | Remediation Action |
|---|---|---|
| Porous | Carpets, mattresses, drywall | Complete removal and disposal |
| Semi-Porous | Hardwood, concrete, grout | Sealing or partial removal |
| Non-Porous | Glass, metal, sealed tile | Medical-grade disinfection |
Step 4: Cleaning and Disinfection
Two distinct actions happen during this phase, and both are necessary for a sanitary result. Our first action is applying enzymatic cleansers to break down the proteins and organic residue that standard chemicals cannot penetrate. Skipping this initial wash means the final product spends itself neutralizing organic load instead of actual pathogens.
We then apply EPA-registered, hospital-grade disinfectants from the EPA’s List S for bloodborne pathogens. The effectiveness of these chemicals relies heavily on a metric called contact time.
Our crews leave the solution wet on the surface for the exact duration the label specifies, which is usually between three to ten minutes. The immediate, dry wipe most people attempt at home is entirely ineffective against serious viruses like Hepatitis B.
We treat every hard surface in the zone, going well beyond just the visibly affected area. To truly understand how biohazard remediation works, you must realize the disinfection phase always follows a specific sequence.
- Removal of bulk organic matter
- Application of enzymatic cleansers
- Application of EPA-registered disinfectants
- Sustained wet contact time
Step 5: Verification and Clearance
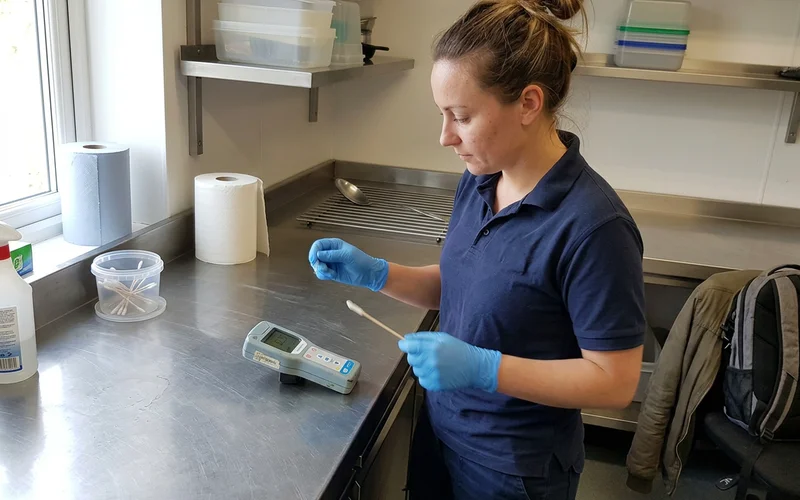
A visual inspection proves nothing when dealing with microscopic biological hazards. Our testing protocols use ATP (Adenosine Triphosphate) verification to measure residual organic material on treated surfaces. This testing device produces a numeric reading in Relative Light Units (RLU), making the result objective rather than a judgment call.
We aim for an RLU score as close to zero as possible to achieve true hospital-grade sanitation. Surfaces that fail the baseline threshold are immediately retreated and retested.
Our clients receive post-remediation verification documentation showing exactly what was treated, the products used, and the final clearance results. That documentation matters for property insurance claims, estate attorneys, and answering questions from future buyers or tenants.
Objective ATP testing removes the guesswork, providing concrete proof that a surface is biologically safe.
Restoration, Where It Applies
After clearance, the room often needs materials replaced, such as fresh flooring, drywall, and trim. We handle that reconstruction phase so the space is completely usable rather than left stripped to the studs.
If you want to know what the first few hours look like from your side of the phone, what to expect when you call a biohazard cleanup team covers response times, arrival, and the assessment conversation. Our objective is to guide you through this difficult situation with dignity and clear communication. Reach out today to schedule an assessment and take the first step to start the biohazard remediation process for your home.
Frequently Asked Questions
How is a biohazard scene decontaminated?
How do you confirm a space is actually clean?
Why do you remove flooring instead of cleaning it?
How long does the whole process take?
Related Guides
How Much Does Biohazard Cleanup Cost in Ohio?
What drives biohazard cleanup cost in Ohio, from labor and medical-waste poundage to containment, plus insurance coverage and deposit terms.
Fentanyl and Drug Residue Decontamination
Safe fentanyl and drug-residue decontamination in Cincinnati for landlords, buyers, and first responders, covering surface contamination risks, PPE, and verification.
Is It Safe to Clean Up Biohazards Yourself?
Why DIY biohazard cleanup is dangerous, covering bloodborne pathogens, cross-contamination, respiratory hazards, and legal liability, and when to call professionals.
Sewage and Blackwater Cleanup After a Backup
Category 3 blackwater and sewage backup cleanup in Cincinnati, covering health hazards, extraction, sanitization, and drying after Ohio River and Mill Creek flooding.
Learn more about Biohazard & Trauma Scene Cleanup
If this guide described your situation, our biohazard cleanup service page walks through the full process, pricing, and what happens after you call.